It’s the height of summer, and for most Minnesotans, that means it’s barbecue season. Whether you’re a vegetarian, omnivore, or carnivore, there are few things better than cooking outside with friends and family. Unfortunately, high-heat cooking of proteins, especially meat, is not particularly healthy. Meat cooked over high heat or flame forms aromatic hydrocarbons, the chemicals that give browned meat its distinctive flavor. Laboratory experiments show that these chemicals are mutagenic and may significantly increase the risk of colorectal cancers.
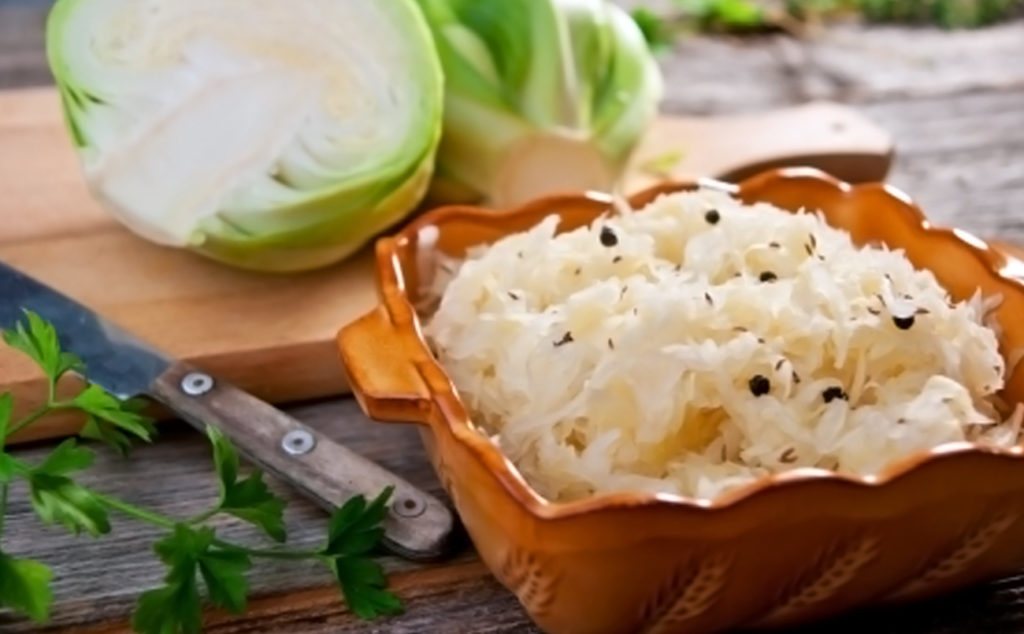
Don’t fret just yet! There is a simple and delicious condiment that may mitigate much of the damage caused by grilled meats: Sauerkraut! Fermented cabbage in the form of sauerkraut is naturally fermented, probiotic, and great for healthy intestinal flora. The bad news is that many commercially available sauerkrauts are made with vinegar and heat and lack most of the healthy benefits of the cultured form, but the good news is that sauerkraut is easy to make at home.
The recipe below is a good starting point. Traditionally, sauerkraut is made with enough salt to preserve it until the naturally occurring lactobacilli on the cabbage can multiply and ferment the mixture. You can cut the salt in half or even more if you add fresh whey as an innoculation of these healthy bacteria. Adding whey also speeds up the fermentation, which means the sauerkraut will be ready in about a week (although it gets better over the next month while chilling in the fridge). If using the 2 tablespoons of salt and no whey, it can take up to a month for the sauerkraut to be ready to eat.
Basic Sauerkraut Recipe
1 medium cabbage (cored and shredded)
2 Tbs caraway seeds
1 Tbs salt
2 wide-mouth quart mason jars
and either 1/3 C fresh whey (see below) or 1 additional Tbs salt
- Sterilize clean jars in the oven (325ºF) and the tops/rings in simmering water. Let cool.
- Shred the cabbage and put in a large bowl. Use clean hands or a wooden kitchen tool to lightly crush the cabbage. This releases its juices and aids in lactobacilli colonization.
- Pour the salt, caraway, and whey (if using) evenly over the cabbage. Mix well by hand.
- Pack the mixture into the clean mason jars, leaving 1 inch of space at the top. Press the mixture down as well as you can.
- Pour any remaining liquid from the large bowl evenly into each jar. The liquid should cover the cabbage by about a ½ inch. If you need more liquid, you can add a little bit of filtered water.
- Screw lids on tightly and set the jars in a cool dark spot for 3 days. It is wise to enclose them in a plastic bag just in case of leaks during the fermentation process.
- On day 2, loosen the lids for a moment to release any buildup of gasses. Do this again after day 3 and then store the jars in the fridge.
The sauerkraut is ready after one week. The final product should smell a bit sour and pleasant. Seeing bubbles in the liquid is a good sign but not necessary. If you see any mold, or if it smells awful and rancid, then discard the batch; something went wrong. I have made many batches with this method (whey) and never had one turn rancid.
Making Fresh Whey
- This process is best done on slightly cooler days to prevent spoilage. Place a clean handkerchief or low-lint tea towel over a medium metal strainer set in a large ceramic bowel.
- Gently pour whole milk yogurt (up to 1 quart) onto the handkerchief and then tie the ends around the yogurt. The yogurt should be sitting in the strainer gently bundled in the handkerchief. Leave this to strain (covered by another towel) for 2-3 hours.
- After the initial rest, the yogurt in the handkerchief will be thicker, and some whey will be in the bowl underneath. At this point, you can put the strained whey in a glass jar in the fridge or just leave it be.
- Next, suspend the bundled handkerchief over the strainer and bowl so that gravity helps push out the last bit of the whey. I like to do this by sticking a long wooden spoon through the tied ends of the handkerchief and propping it up on two large jars. Be careful!
- After another 2-3 hours you will have enough strained whey to use for several batches of home fermenting and the yogurt has transformed into a pleasantly sour cream cheese (great on toast!).
- Store both in the fridge until ready to use.
[written by Charles]
